Looking up at the night sky can be magical—until you try to match it with a star map. If you’ve ever felt confused while holding a circular chart and wondering where Orion disappeared to, you’re not alone. Many beginners struggle with reading star maps at first.
But with a little guidance, anyone can learn to use a star map with confidence. In this post, we’ll break down the basics, offer practical tips, and help you avoid common mistakes so you can navigate the night sky without feeling overwhelmed.
What Is a Star Map?
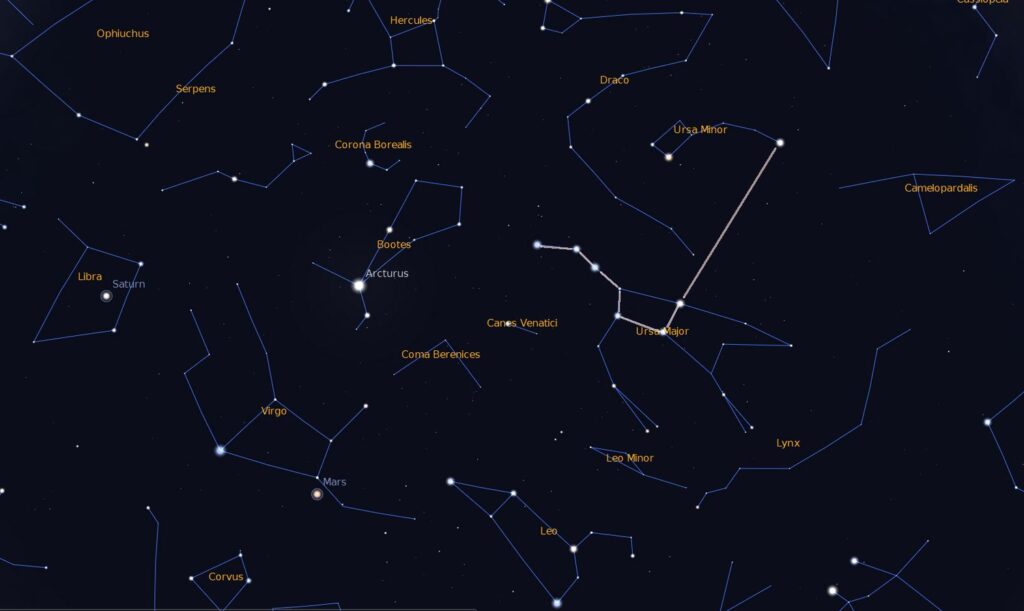
A star map, also known as a star chart or sky map, is a flat, two-dimensional illustration of the night sky. It displays the locations of stars, constellations, and occasionally planets as seen from Earth at a specific time and place. Typically circular, star maps mimic the dome-like view of the sky overhead. They include key features such as cardinal directions (North, South, East, and West) to help you orient the map with your surroundings. Additionally, star maps show star magnitudes, representing brightness by varying the size of star symbols, and outline constellations to help identify familiar patterns. Some star maps also display important celestial lines, like the ecliptic, which is the path the Sun, Moon, and planets follow across the sky. These tools are essential for beginners and experienced stargazers alike to navigate and understand the night sky more easily.
Why Star Maps Confuse Beginners
Reading a star map isn’t inherently difficult, but it does involve thinking in a new way. Beginners often find it confusing for these reasons:
- The map doesn’t match the sky: The sky shifts with time and season, so the map must match the date and hour.
- Orientation issues: You need to rotate the map to match the direction you’re facing.
- Too much information: Many maps show dozens or hundreds of stars, which can feel overwhelming.
Let’s walk through it step-by-step.
Step-by-Step: How to Read a Star Map
1. Match the Date and Time
Star maps are designed for specific times of year and times of night. Using the wrong map for the season or observing too early or too late, will cause mismatches between the chart and sky.
Use a chart that corresponds with your current month and view it between 9:00 PM and 11:00 PM for best results.
2. Face the Right Direction
Star maps include compass directions. To use the map correctly:
- Face a direction (e.g., South).
- Rotate the map so that “South” is at the bottom (closest to your chest).
- The top of the map now represents the sky in front of you.
This step is essential for accurate orientation.
3. Hold the Map Overhead (Optional)
Some prefer to hold the star chart above their head so it mimics the dome of the sky. Others find it easier to keep it at waist level while facing the appropriate direction.
Try both methods to see which works better for you.
4. Look for Bright Stars First
Don’t try to identify everything at once. Focus on the most distinctive bright stars and constellations, such as:
- Orion’s Belt (three stars in a row)
- The Big Dipper (part of Ursa Major)
- Cassiopeia (a W-shaped pattern)
Once you’ve found a few reference points, it becomes easier to locate other constellations nearby.
5. Use a Red Flashlight
White light ruins your night vision. To preserve your ability to see stars:
- Use a red LED flashlight or
- Cover a regular flashlight with red cellophane or tape
This allows you to read the map in the dark without affecting your eyes.
Key Parts of a Star Map Explained
Constellation Lines: These help you recognize familiar shapes in the sky. They’re drawn between key stars in each constellation but are symbolic, not physical.
Magnitude Indicators: Stars are drawn in various sizes. Larger dots indicate brighter stars, which are easiest to find first.
Ecliptic Line: This arc shows the apparent path of the Sun, Moon, and planets through the sky. If you’re hoping to spot a planet, look along this line.
Celestial Grid (Right Ascension and Declination): This grid system functions like longitude and latitude, but for the sky. Beginners don’t need to use it, but should know it exists.
Digital vs. Printable Star Maps
| Format | Pros | Cons |
|---|---|---|
| Printable | No batteries, lightweight, low cost | Not real-time, fixed data |
| Digital | GPS-based, real-time, interactive | Needs power, more complex |
Use both if possible. Start with a printed map to build orientation skills, then use an app like SkySafari, Stellarium, or Sky Map for real-time assistance.
Common Mistakes to Avoid
- Trying to see too much: Stick to identifying one or two constellations per session.
- Using the wrong map: Make sure your chart matches the current month and your location.
- Incorrect map orientation: Always rotate your map to match the direction you’re facing.
Practice Tips to Build Confidence
- Observe regularly: Watching the sky night after night helps you notice changes and build memory.
- Learn key constellations: Start with 5–6 recognizable constellations to serve as anchors.
- Observe during twilight: Fewer visible stars at dusk make it easier to spot bright constellations.
Best Free Star Maps for Beginners
- SkyMaps.com – Monthly printable star charts by hemisphere
- Stellarium.org – Planetarium software and online charts
- In-The-Sky.org – Location-based interactive maps
- NASA Night Sky Network – Constellation guides and star maps for educators and hobbyists
Final Thoughts
Learning how to read a star map takes time, but it doesn’t need to be complicated. Start small, focus on bright constellations, and orient your map correctly based on where you’re facing. With just a few sessions of practice, you’ll begin to feel at home under the stars.
The night sky is vast, but with a star map in hand and a little patience, you can unlock its secrets one constellation at a time.